
DIY Excavation: Essential Tools and Safety Tips
- Jul 12, 2024
- 3 min read

Taking on a DIY excavation project can be a rewarding and cost-effective way to improve your property. However, it requires careful planning, the right tools, and a strong focus on safety. This guide will walk you through the essential tools and safety tips needed for successful DIY excavation.
Planning Your DIY Excavation Project
Step 1: Assess the Project Scope Before starting your DIY excavation, assess the scope of the project. Determine the size, depth, and specific requirements of the excavation. Understanding the project scope will help you plan effectively and gather the necessary tools.
Step 2: Check for Underground Utilities Before you start digging, it’s crucial to check for any underground utilities such as gas lines, water pipes, or electrical cables. Contact your local utility companies to mark the locations of any underground services. This step is vital to prevent accidents and service disruptions.
Step 3: Obtain Necessary Permits Depending on the size and location of your excavation project, you may need to obtain permits from your local authorities. Check with your local building department to understand the permit requirements and ensure your project complies with regulations.
Essential Tools for DIY Excavation
Step 4: Shovels and Spades Invest in high-quality shovels and spades for digging and moving soil. A round-point shovel is ideal for general digging, while a square-point shovel is useful for scooping and transferring soil.
Step 5: Mattock or Pickaxe A mattock or pickaxe is essential for breaking up hard soil, rocks, and roots. It’s a versatile tool that makes excavation easier, especially in tough soil conditions.
Step 6: Wheelbarrow A sturdy wheelbarrow is necessary for transporting soil, gravel, and other materials. Choose one with a durable frame and a comfortable handle to make moving materials more efficient.
Step 7: Level and Measuring Tape Ensure your excavation is level and accurately measured by using a level and measuring tape. These tools are crucial for maintaining the correct depth and dimensions of your excavation.
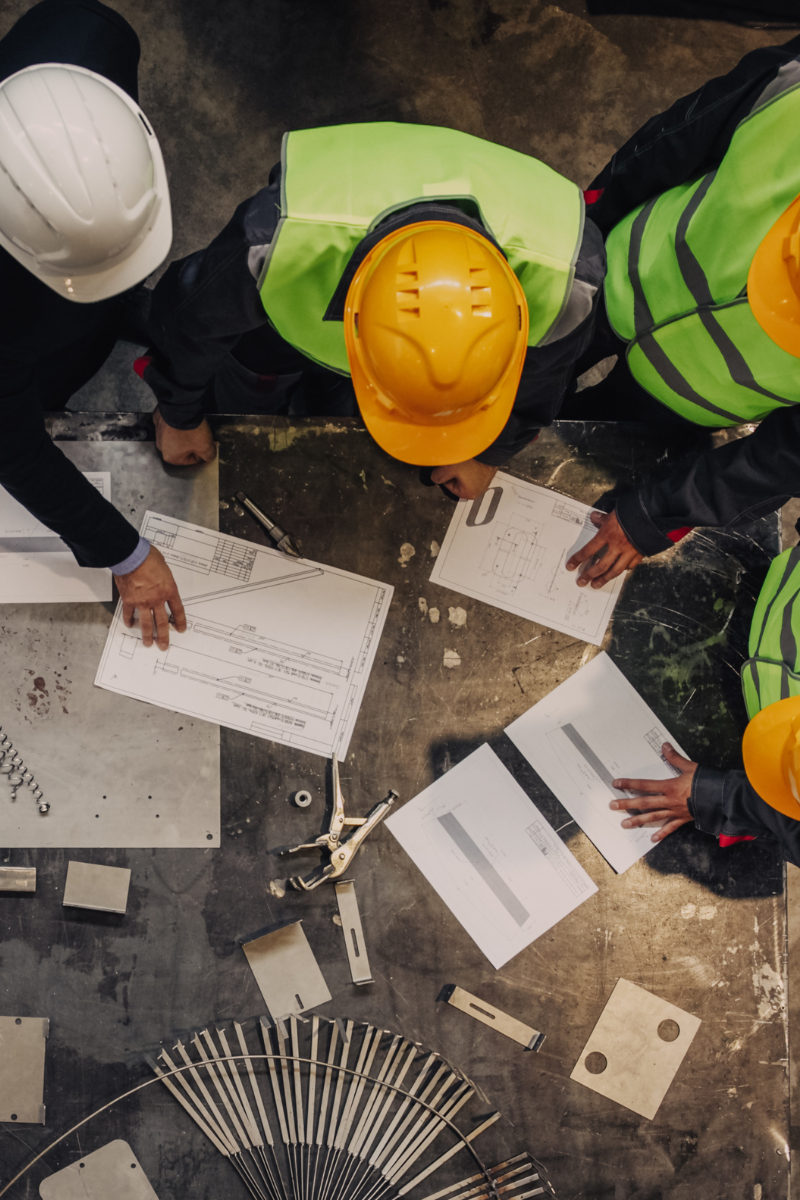
Step 8: Safety Gear Protect yourself with the appropriate safety gear, including gloves, safety glasses, a hard hat, and steel-toed boots. Wearing the right gear helps prevent injuries and keeps you safe during the excavation process.
Safety Tips for DIY Excavation
Step 9: Plan for Safe Digging Plan your digging to avoid cave-ins and collapses. For deeper excavations, consider sloping the sides or using shoring to support the walls. Always be cautious when working near the edges of an excavation.
Step 10: Stay Hydrated and Take Breaks Excavation work can be physically demanding. Stay hydrated by drinking plenty of water, and take regular breaks to rest and avoid fatigue. Working while tired increases the risk of accidents and injuries.
Step 11: Be Mindful of Weather Conditions Avoid excavating in extreme weather conditions such as heavy rain or extreme heat. Wet soil can be unstable and increase the risk of cave-ins, while extreme heat can lead to dehydration and heat-related illnesses.
Step 12: Work with a Partner Whenever possible, work with a partner. Having someone to assist and monitor the excavation increases safety and efficiency. Your partner can help with lifting, transporting materials, and provide assistance in case of an emergency.
Executing Your DIY Excavation Project Safely
Step 13: Start Digging Carefully Begin your excavation by digging small sections at a time. Use your shovels and mattock to break up the soil and remove it gradually. Avoid overexerting yourself and focus on maintaining a steady pace.
Step 14: Monitor Soil Conditions Continuously monitor the soil conditions as you dig. If you encounter any unexpected obstacles or unstable soil, reassess your approach and take the necessary precautions to ensure safety.
Step 15: Dispose of Soil Properly Plan for the disposal of the excavated soil. Depending on the amount, you may need to transport it to a designated disposal site. Ensure you follow local regulations for soil disposal to avoid any environmental or legal issues.
By following these essential tools and safety tips, you can successfully undertake your DIY excavation project while minimizing risks and ensuring a safe working environment. Careful planning, the right tools, and a strong focus on safety are key to achieving the best results. Happy digging!
Comments